
 Русский
 English
 Deutsch
 Français
 Español
 中文
中文 한국어
한국어 Türkçe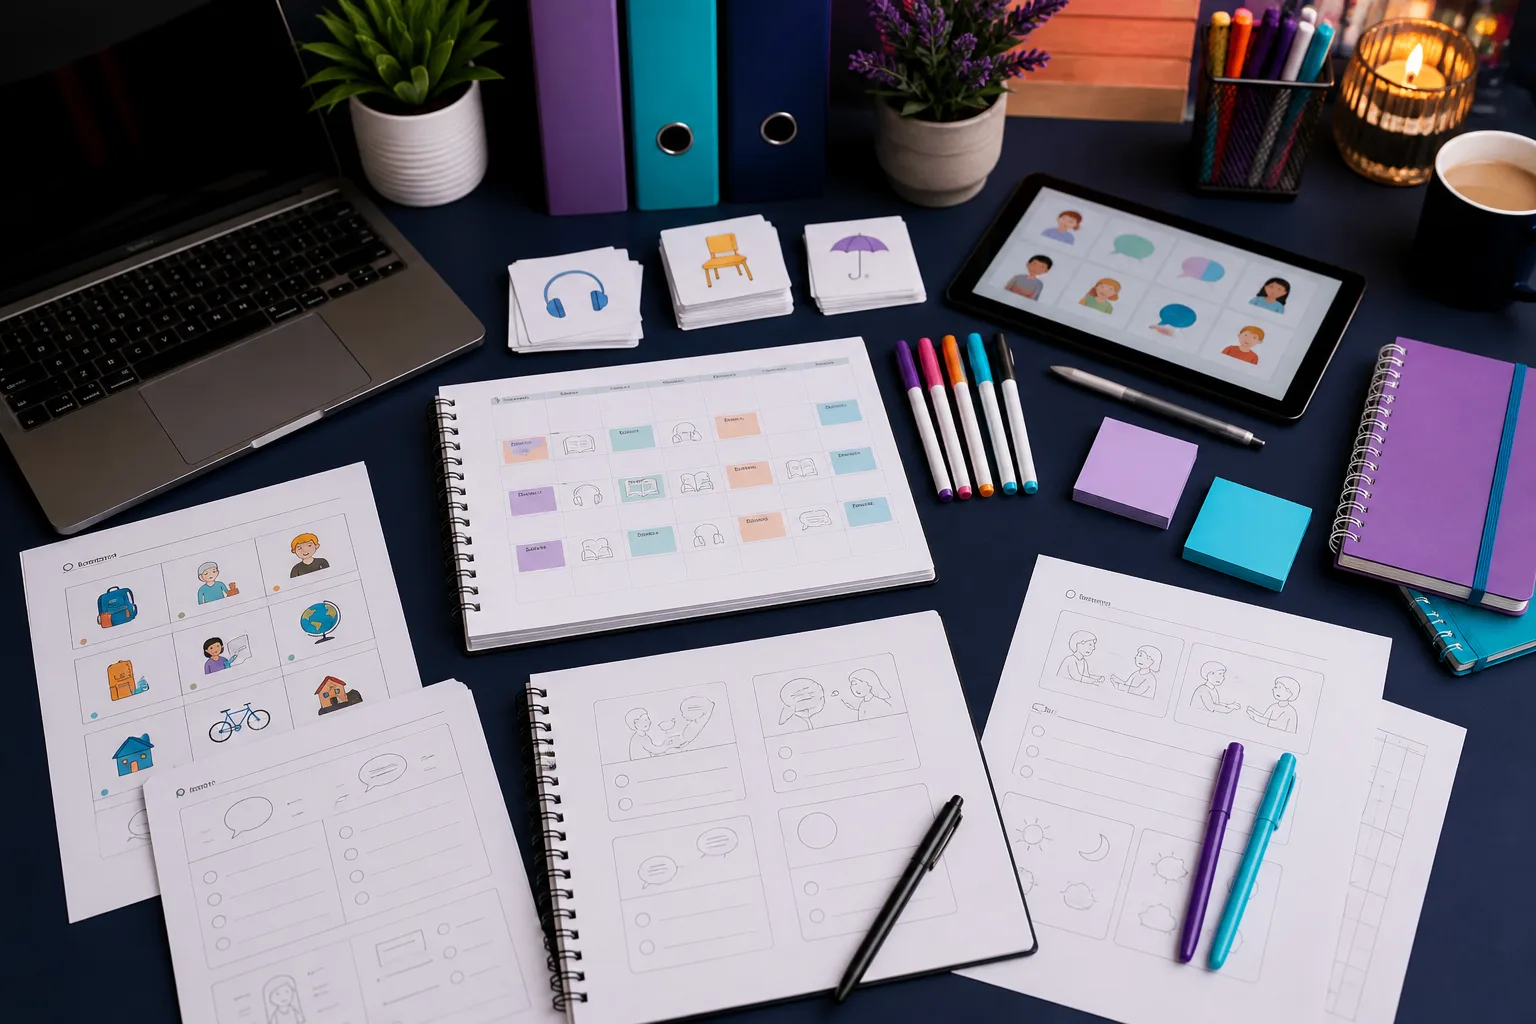
Starting to teach a foreign language online is an exciting but responsible endeavor. The first month of work sets the tone for your entire career: this is when your habits, teaching style, and reputation are formed. To avoid drowning in chaos and burning out, it's important to prepare a basic set of materials in advance. In this article, we'll break down what a beginning teacher really needs, what you can skip at first, how to create convenient templates, organize homework and a progress tracker, and how to use content legally.
The Essential Minimum: What You Can't Start Without
The first month is a time for experimentation, but there are basic things every teacher should have, regardless of the language and student levels. This minimum will help you conduct lessons in a structured and professional manner.
Video Conferencing and Interactive Platform
Choose one primary platform for conducting lessons. This could be Zoom, Skype, Google Meet, or specialized platforms for online learning. It's important that you know its features well: screen sharing, chat, virtual whiteboard, and session recording. Spend time on a test call with a friend to master all the tools.
Electronic Whiteboard and Collaboration Tools
For interactive lessons, you'll need an online whiteboard where you and the student can write, draw, and move cards around. Popular options include Miro, Jamboard, and Whiteboard.fi. Many video conferencing platforms have a built-in whiteboard, but a separate tool is often more convenient. The whiteboard is great for explaining grammar, breaking down vocabulary, and doing written exercises.
Textbooks and Materials
You need at least one basic textbook (for example, for English: English File, Speakout, Headway) and a collection of supplementary exercises. But remember: the textbook is a framework, not dogma. You can adapt it to the student's needs by adding your own materials. It's also useful to have a selection of authentic materials: articles, videos, podcasts, songs—but we'll discuss their legal use below.
Lesson Plan Templates
Create a simple lesson plan template that you'll fill out before each session. This will save time and help you not forget important stages: warm-up, homework check, introduction of new material, practice, feedback. You can make the template in Google Docs or Notion.
File Storage System
Organize folders on a cloud drive (Google Drive, Dropbox, Yandex Disk) for each student and each type of material. For example: Students/Name/Lesson Plans, Students/Name/Homework, Shared Materials/Grammar. This will allow you to quickly find the right file and not lose important documents.
Additional Materials: What You Can Add Later
Don't try to do everything in the first month. Some things can be postponed until you feel confident and understand what your students actually need.
- Game platforms and apps (Kahoot, Quizlet, Wordwall) — they make lessons more fun but require time to prepare. Start with one platform, like Quizlet, and use it for vocabulary practice.
- Original worksheets — creating your own materials requires experience and time. First, use ready-made resources, and later start developing your own.
- Video and audio materials — a collection of videos on lesson topics will come in handy, but you don't have to prepare it right away. Use YouTube and podcasts as needed.
- Online pronunciation trainers — for example, YouGlish or Forvo. They're useful but not critical at the start.
Remember: it's better to master a few tools perfectly than to spread yourself thin over dozens.
Creating Lesson Templates: How to Save Time and Nerves
A lesson template is your lifeline. It helps structure the session, not forget important elements, and prepare quickly. Here's an example structure you can use as a base:
- Warm-up (5–7 minutes): short discussion, questions about the student's life, a small game.
- Homework check (5–10 minutes): review errors, answer questions.
- Introduction of new material (10–15 minutes): presentation of a grammar topic or new vocabulary.
- Guided practice (10–15 minutes): exercises with your help, dialogues, work with text.
- Free practice (5–10 minutes): the student applies the material in free speech, role-play.
- Feedback and homework assignment (5 minutes): discuss successes, explain homework.
Create a template in a text editor or in Notion, where you can quickly fill in the fields. Include fields such as: date, student name, level, lesson goal, materials, stages with timing, homework, notes.
Adapting the Template for Different Lesson Types
You may have different types of lessons: general course, conversational practice, exam preparation. Create separate templates for each type. For example, for a conversational lesson, focus on discussions and role-plays, while for an exam-focused lesson, emphasize strategies for completing tasks.
Homework: How to Make It Useful and Doable
Homework is an integral part of learning. It reinforces material and develops the student's independence. It's important to give assignments that the student can actually complete without your help.
Types of Homework
- Exercises to reinforce grammar and vocabulary: fill-in-the-blanks, transformations, sentence building.
- Listening and video watching: listen to a podcast, watch a video, and answer questions.
- Reading and retelling: read an article or story, write a summary.
- Writing assignments: write an essay, a letter, a social media post in the target language.
- Creative tasks: record a video monologue, make a presentation, create a comic.
Try to alternate types of assignments to keep the student interested. Give clear instructions and a deadline. Check assignments before the next lesson and be ready to discuss errors.
How to Organize Checking
Checking homework shouldn't take too much time. Choose a format: oral error review during the lesson, written comments in a document, or a voice message. The key is to give specific feedback, not just "good" or "bad." Point out what worked and what needs improvement.
Progress Tracker: How to Monitor Student Success
A progress tracker is a tool that helps you and the student see the dynamics of learning. It motivates and allows you to adjust the program. Keep a tracker for each student.
What to Record in the Tracker
- Lesson dates and topics.
- Lesson goals and the degree to which they were achieved.
- Active vocabulary (new words and expressions).
- Grammar topics that caused difficulties.
- Results of tests and quizzes.
- Comments on progress in speaking, listening, reading, and writing.
Tools for the Tracker
You can use a simple spreadsheet in Excel or Google Sheets, or specialized apps for teachers (e.g., Trello, Notion, Planbook). Choose what's convenient for you. The main thing is to update the tracker regularly and analyze the data.
For example, if you see that a student has been making mistakes with the same tense for three lessons in a row, it's worth allocating extra time to practice it. The tracker also helps you prepare reports for parents (if you work with children) or for the student themselves.
Legal Use of Content: Important Rules
One of the most common questions from beginning teachers is whether they can use materials from textbooks, YouTube videos, and internet images in their lessons. The answer is yes, but with certain restrictions.
Remember: you do not have the right to copy and distribute entire textbooks, workbooks, or audio courses without the copyright holder's permission. This is a copyright infringement.
What You Can Use Freely
- Materials with open licenses (Creative Commons, Public Domain).
- Your own developments.
- Short quotes from texts with attribution.
- Links to external resources (e.g., giving the student a link to an article or video is legal).
How to Use Textbooks Legally
If you want to work with a textbook, buy your own copy and recommend the student purchase theirs. You can use textbook pages during the lesson by displaying them on the screen, but you must not distribute copies or upload them to open access. An alternative is to use online platforms with legal content, such as textbooks with access codes from publishers.
Using Video and Audio
You can show videos during the lesson if they are publicly available (e.g., on YouTube) and you don't download them. For homework, give links to videos rather than the file itself. Be careful with paid courses and films—streaming them in a lesson may violate rights.
File Organization: How to Tidy Up Your Digital Space
Chaos in files is the main enemy of productivity. When you have several students, dozens of materials, and plans, it's easy to get confused. Here are some tips for organization.
Folder Structure
Create a hierarchy of folders on your cloud drive:
Students/ Ivan Petrov/ Lesson Plans/ Homework/ Materials/ Maria Smirnova/ Lesson Plans/ Homework/ Materials/ Shared Materials/ Grammar/ Vocabulary/ Audio/ Video/ Templates/Use clear file names: for example, 2023-11-15_Ivan_Lesson_Plan_Unit5.docx. This will help you quickly find the right document.
Organization Tools
Google Drive, Yandex Disk, Dropbox—all are suitable. Additionally, you can use Notion for a knowledge base: create pages with templates, a list of students, and links to materials. This is convenient if you want everything in one place.
Regular Cleanup
Once a week or month, delete outdated files and move notes to an archive. This not only frees up space but also reduces stress.
Conclusion
The first month of online teaching is a time of adaptation and growth. Don't rush to acquire all possible materials and tools. Focus on the basics: a reliable platform, lesson templates, well-thought-out homework, a progress tracker, and file organization. Remember the legality of content—this will protect you from problems and show your professionalism. Gradually, you'll expand your arsenal, but the main thing is to create a solid foundation that allows you to confidently conduct lessons and delight students with results. Good luck in your endeavor!